


Being a successful Domestic Energy Assessor (DEA) is about more than just knowing the RdSAP software. It’s about being prepared, professional, and efficient—both for your benefit and for the homeowner’s. In this post, we’ve pulled together some tried-and-tested Domestic Energy Assessor best practices to help you improve your process and get the job done smoothly.
Before the Visit: Preparation is Key
Start with a clear and informative introductory email or letter.
A strong introduction sets the tone and reduces time spent answering questions on site. Include key information such as:
- What you’ll be doing during the assessment (people aren’t used to strangers taking photos in their home!)
- Why you need photographs and how long you’ll store them
- Which areas you’ll need access to – clarify what “access all areas” really means (e.g., loft, all bedrooms, heating system)
- Ask if you need to bring your own ladder
- Request any documentary evidence in advance (email is ideal)
- Confirm that someone over 18 will be present
- Give a basic explanation of how RdSAP works – especially for new builds where the rating may be lower than expected
It’s also a good idea to attach your terms and conditions, and a clear FAQ. This helps prevent confusion and establishes an official agreement.
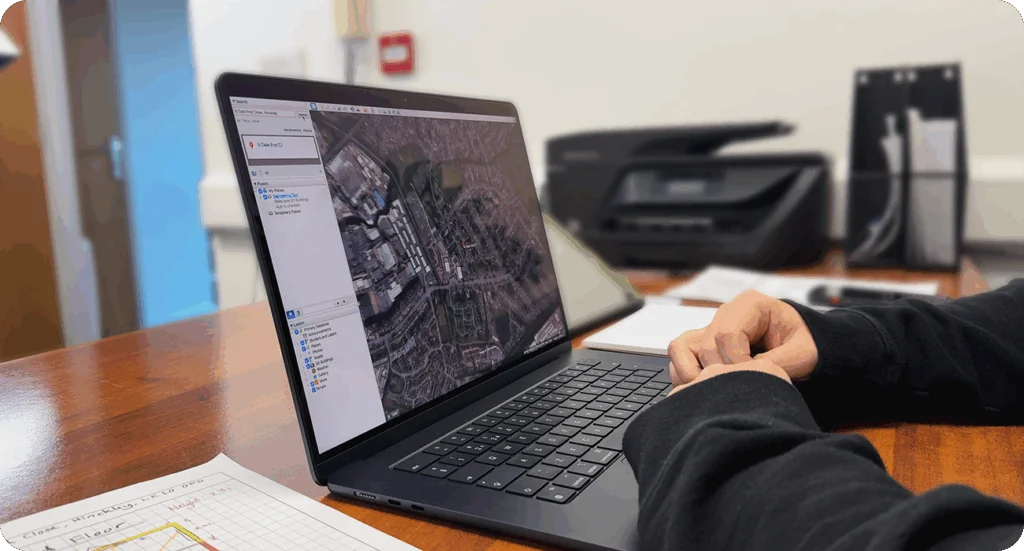
Research the Property
At a minimum, view the property on Google Maps so you have a sense of its layout. Look online for a floor plan if one exists. Before accepting the job, make sure the property isn’t exempt and that you’re qualified to carry out the assessment.
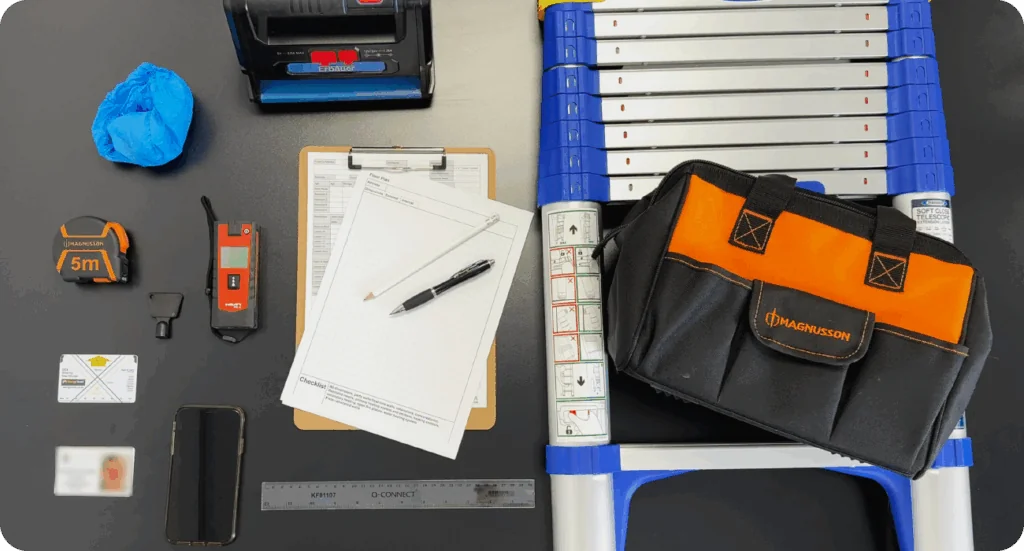
Equipment Checklist
Before heading out, make sure all your equipment is charged and in good working order. Bring chargers and spare batteries with you—especially if you’re out all day—and ensure your phone or tablet has enough storage for the photographs you’ll be taking. It’s wise to carry spare pencils or a sharpener if you work on paper, and if you operate in rural areas, downloading offline maps on Google Maps can be a lifesaver when mobile signal is patchy.
For safety, consider carrying a second phone and always let someone know where you’re going and when you expect to return. Also, you need to consider the safety of those in the home too. In light of this, you should always keep your equipment bag zipped up and out of reach of pets or children in the property. Lastly, having a quick-reference checklist of the photographs you need can help you stay focused and avoid missing anything during the assessment.
On-Site: Work Smart
Plan Of Action
Start outside and complete all external elements first. Inside, go room by room and cover the three key elements: Glazing, Heating, Lighting. Then collect evidence for other details such as:
- Ventilation
- Drylining
- Insulation
You may choose to draw the outline of your floor plan early and use it to guide measurements. This approach allows you to orient yourself in line with your floor plan and then gather measurements in a logical way to record them on the floor plan as you go. Ensure that you mark bulb types, window and radiator locations while they’re still fresh in your memory.
If using a tablet, don’t get stuck following the software section by section—it’s inefficient. Instead, complete your assessment in your own logical flow, and fit the software input around that.

After the Visit
Many DEAs find it more efficient to finish up at home. Once you’re back at your desk, you should:
- Transfer your photos to your desktop
- Tidy up your floor plan
- Input your data using the desktop version of RdSAP—this can take just a few minutes if you’ve prepared well
- Send a summary email to your client with honest, helpful energy advice and links to resources like TrustMark
- Only lodge the EPC once payment is received and the client is happy with the report
Final Thoughts
Following these DEA best practices helps you work efficiently, provide a great customer experience, and ensure every EPC is completed to a high standard. Whether you’re new to the role or just looking to sharpen your approach, small changes to your routine can make a big difference.